
Once again, Ashtons Handyman Services was rated the best of the three in Stockton on Tees area.
Once again, Ashtons Handyman Services was rated the best of the three in Stockton on Tees area.

HELPING TO KEEP YOUR PROPERTIES AND HOMES WELL MAINTAINED. CHRIS AT ASHTONS HANDYMAN SERVICES PRIDES HIMSELF ON COMMITMENT TO PROVIDE A PROFESSIONAL AND SPEEDY SERVICE AT ALL TIMES, WHILST MAINTAINING THE HIGHEST QUALITY OF WORK. CLEAN, TIDY AND RESPECTABLE.
Chris’s goal is to meet and exceed the expectations of every customer. Working for property services, home owners and landlords in Stockton on Tees and surrounding Teesside areas in the North East England.
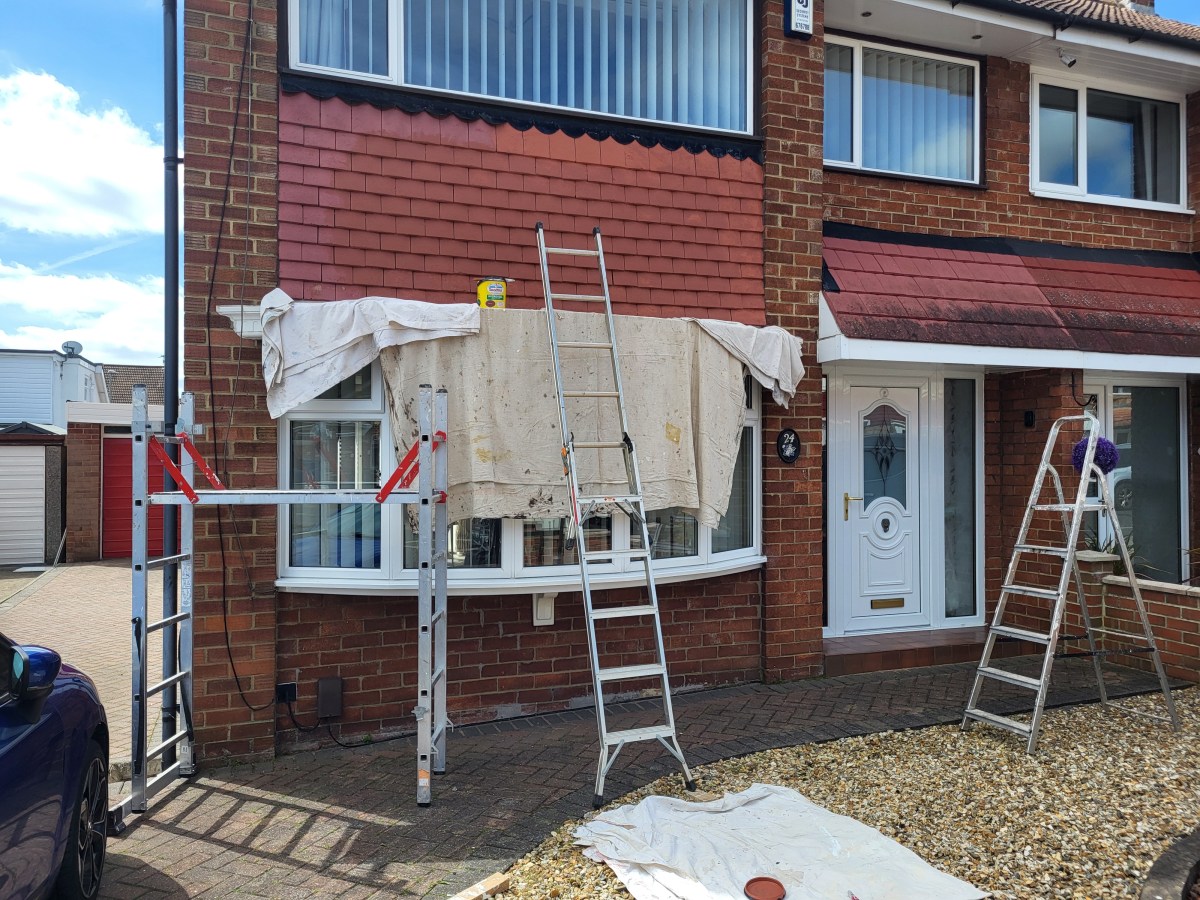
The customer wanted to have the tiles painted under the 2st floor window and over the front door canopy.

With dust sheets over the ground floor bay window and using my ladders and platforms, the tiles were brushed over with a steel brush before applying the paint.
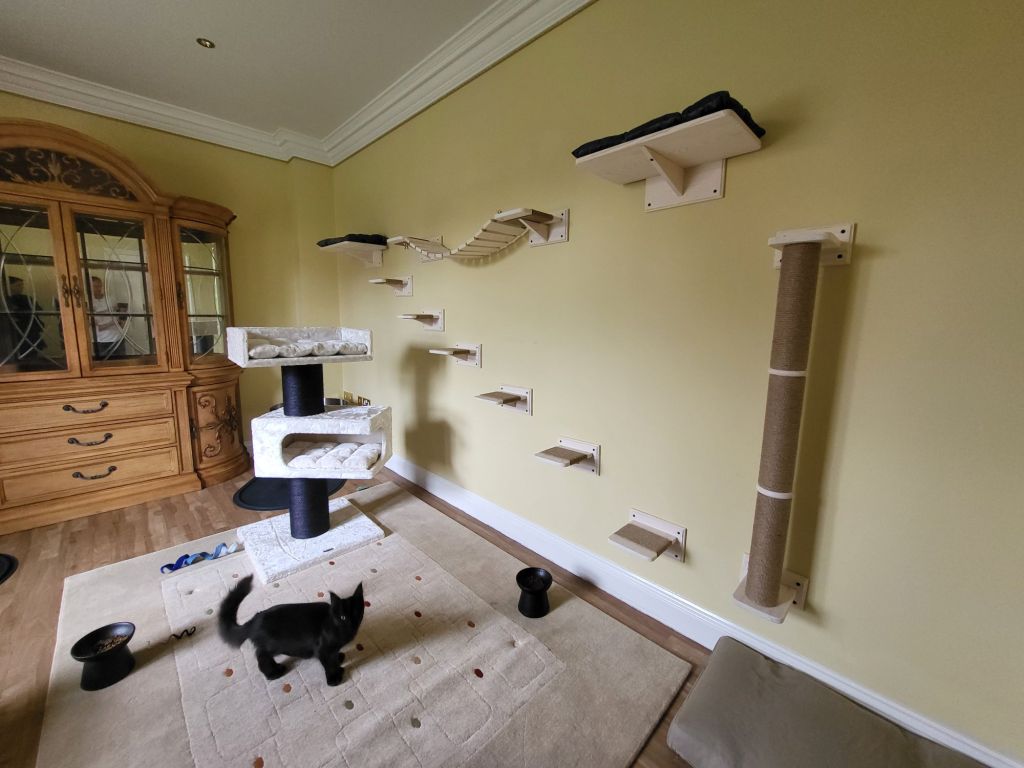
The assembly and fitting to wall Cat Wall system for two Main Coon cats.
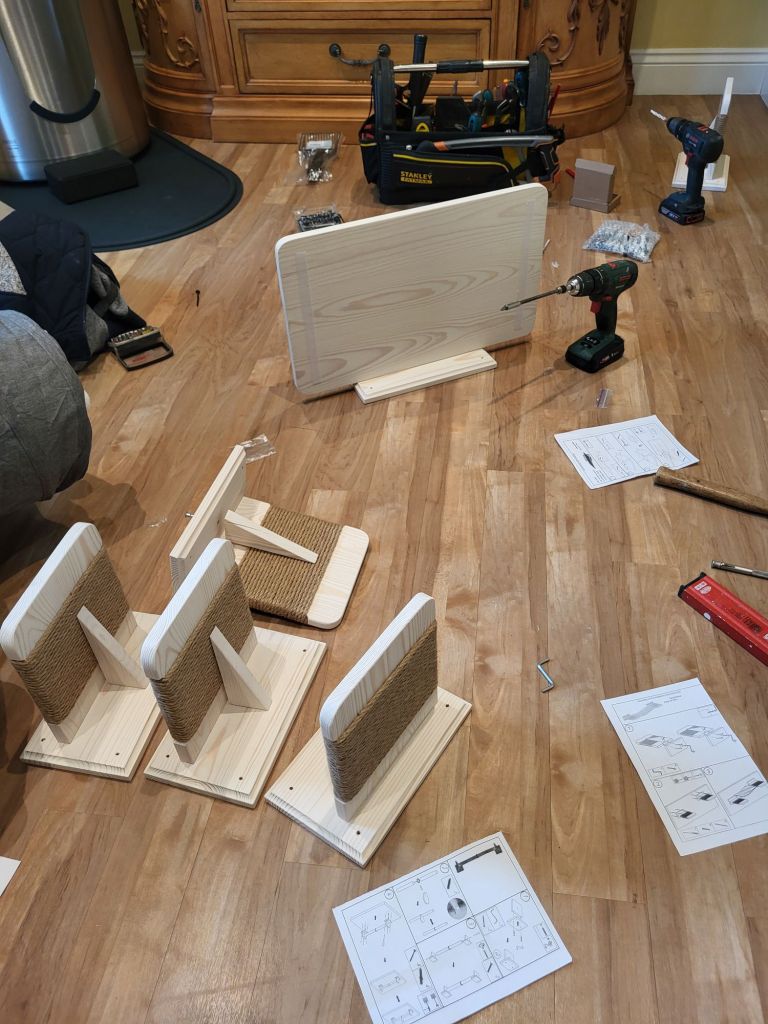
The customer had a large area to which the items, once assembled, could be fixed to the wall.
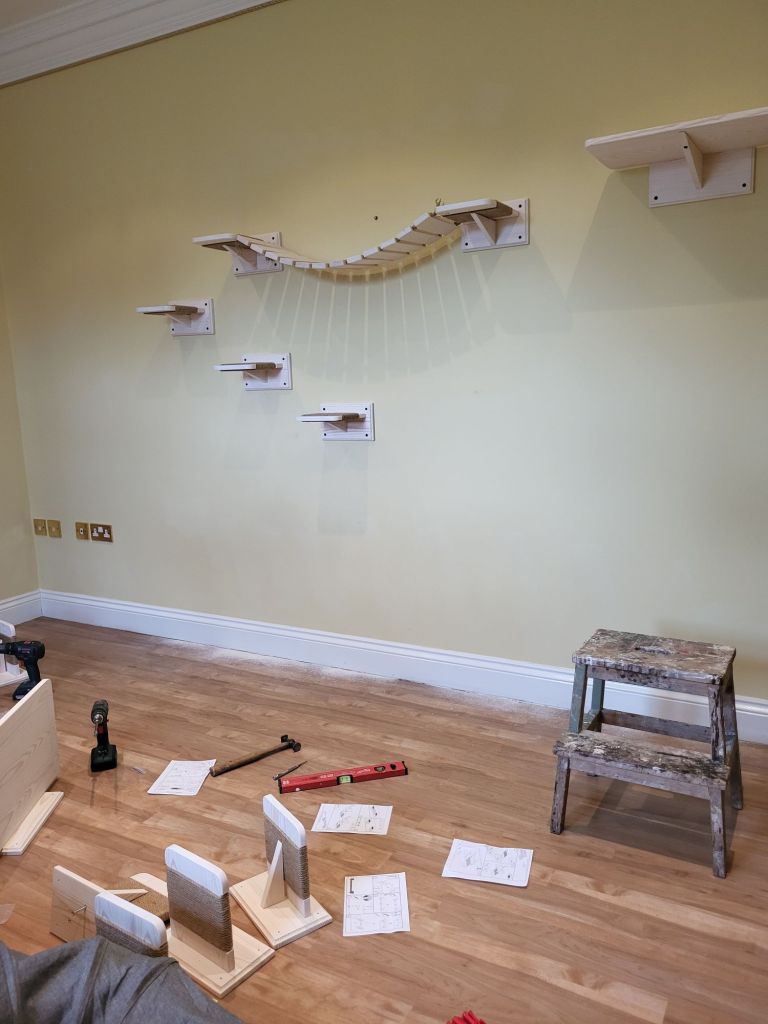
With their direction and my advice, the units where fixed to the wall using a level.

Chris is a Handyman in Stockton on Tess. He is available to help and give advice on any project you have.

The customer wanted two drop down grab rail supports fitted to the wall either side of the toilet. The units did not come supplied with fixing! So l checked online to find suitable fixings for these handrails and found 75mm coach bolts are recommended. So off to the local DIY shop to get the right fixings.
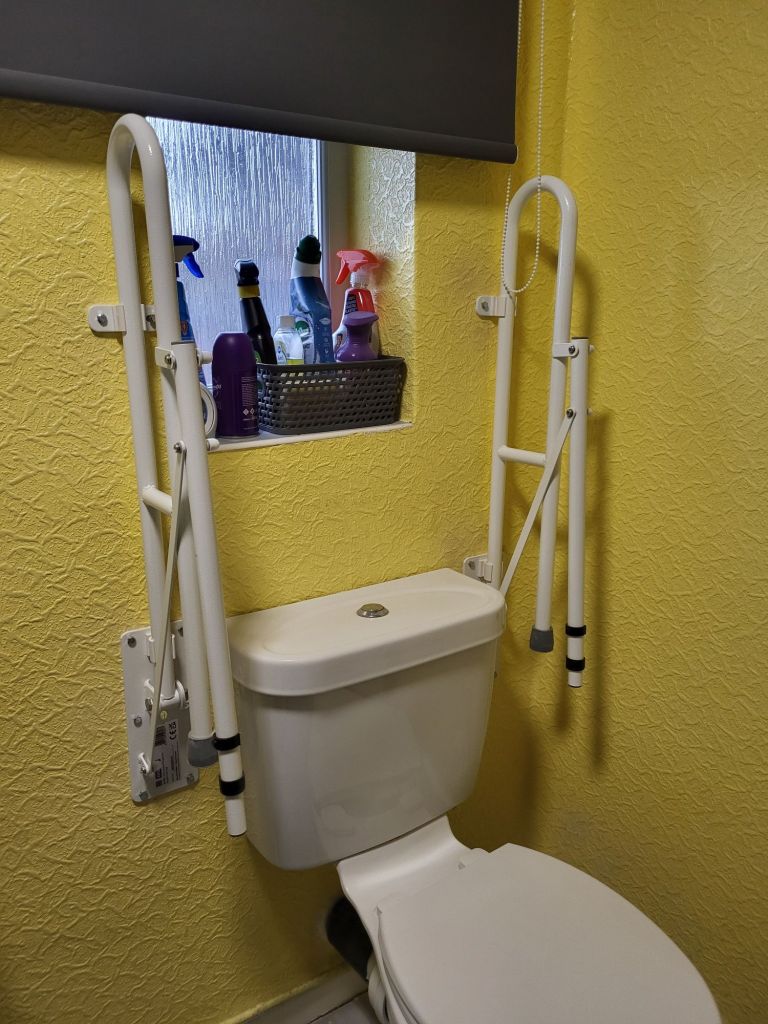
It’s important to fit with the advised fixings as recommended by the manufacturer and spend a little time doing the research.

The customer wanted the feature wall painted and shelving fitted on either side of the fireplace.

The shelves were added after painting was done.
Material used 24cm window board and 2×1 timber for shelves to sit on.
Looks great.


Chris has offered his Handyman Services in Stockton-on-Tees for over 16 years.
Awarded Best Top Three Handyman in Stockton-on-Tees for 5 years in a row!
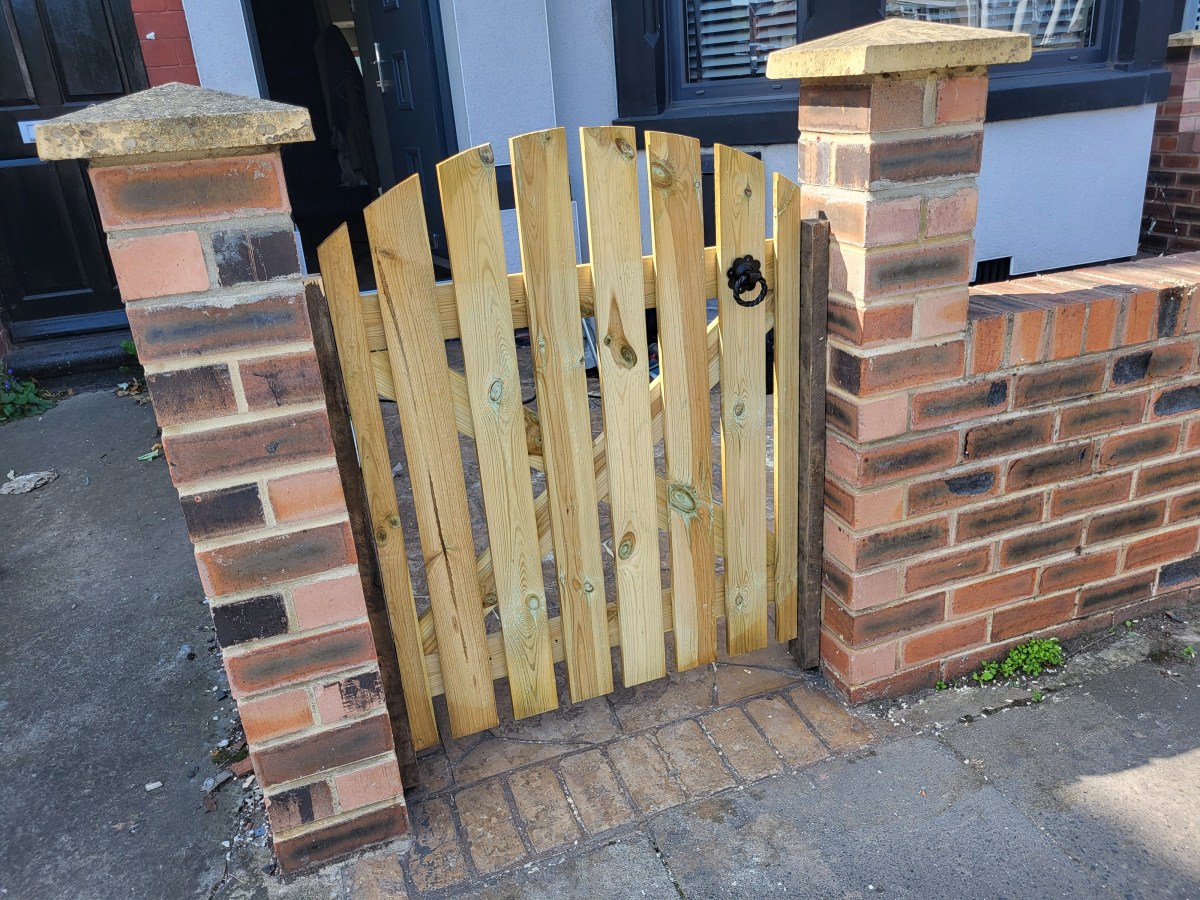
The customer supplied the gate to be fitted, but it needed to be cut down to size in order to fit in the entrance space.

Two wooden posts need to be fixed to the wall on either side of the entrance for the gate to hang on and to close with the latch attachments.

Lastly, the customer wanted the gate painted. All done in 2 hours.

Looks smart!

The old sink is removed and supply pipes re routed to new corner basin. Tiles added to top area as the customer required.


Before and after. Painting of the decking for hot tub in Hartburn.

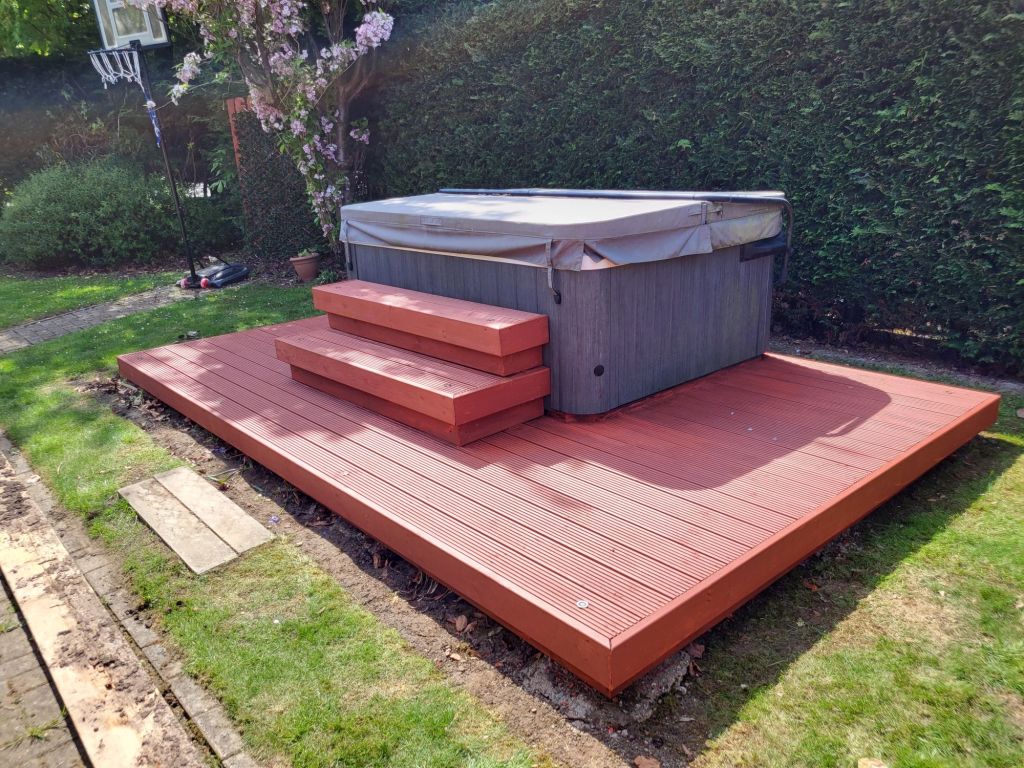
Handyman Services in Hartburn Stockton on Tees.

The customer wanted to take the fence section away in order to fit 2 storage bin enclosures.
I suggested using the part of the fence to carry it through to the shed, keeping the uniformity and utilising the materials.


There was already paving to assemble the 2 storage bin units.
Looks good with the fence moved to the side, cut to size and fixed to existing fencing posts, utilising and making good use of space.

The black mould was removed using bleach diluted with water using a sponge. It’s hard work, but with persistent rubbing, it is removed. Allowing to dry, l then applied white emotion paint.


Keep bathrooms well ventilated to prevent mould appearing.

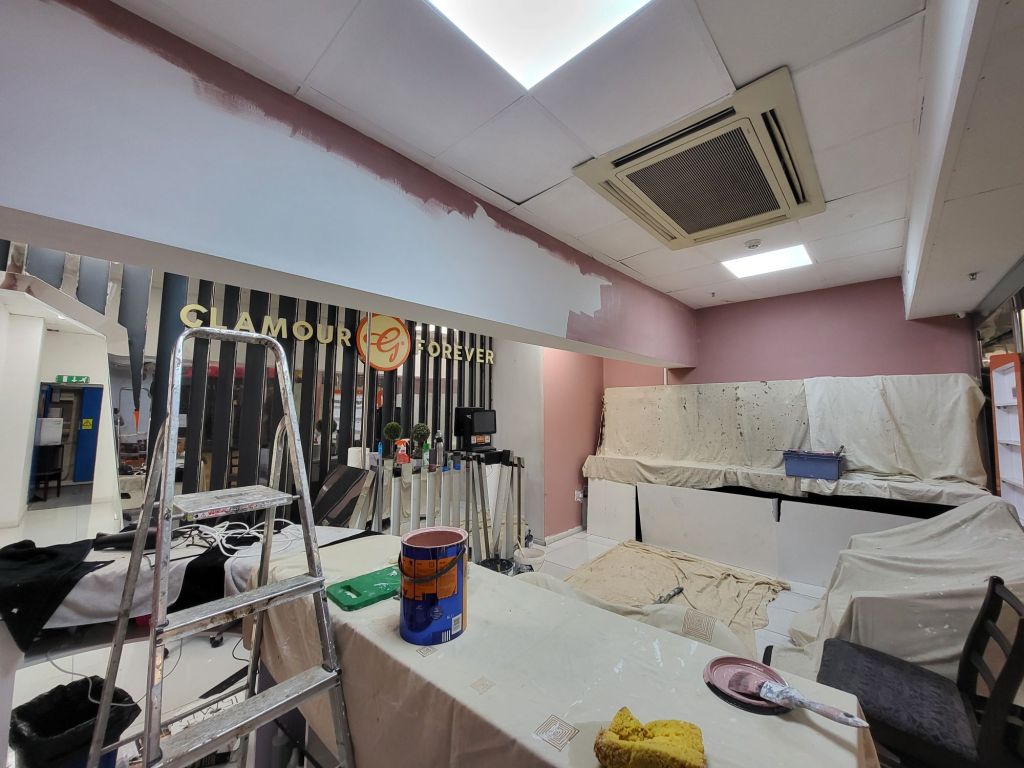
Dust sheets are used as painting is in progress at Glamour shop.
Painting and decorating service by Ashtons Handyman Services

The floor by the front door has collapsed.

As you can see, this could be a tricky job without having to remove more of the laminate.

I need to replace the joist with new to run right across the width of the floor.

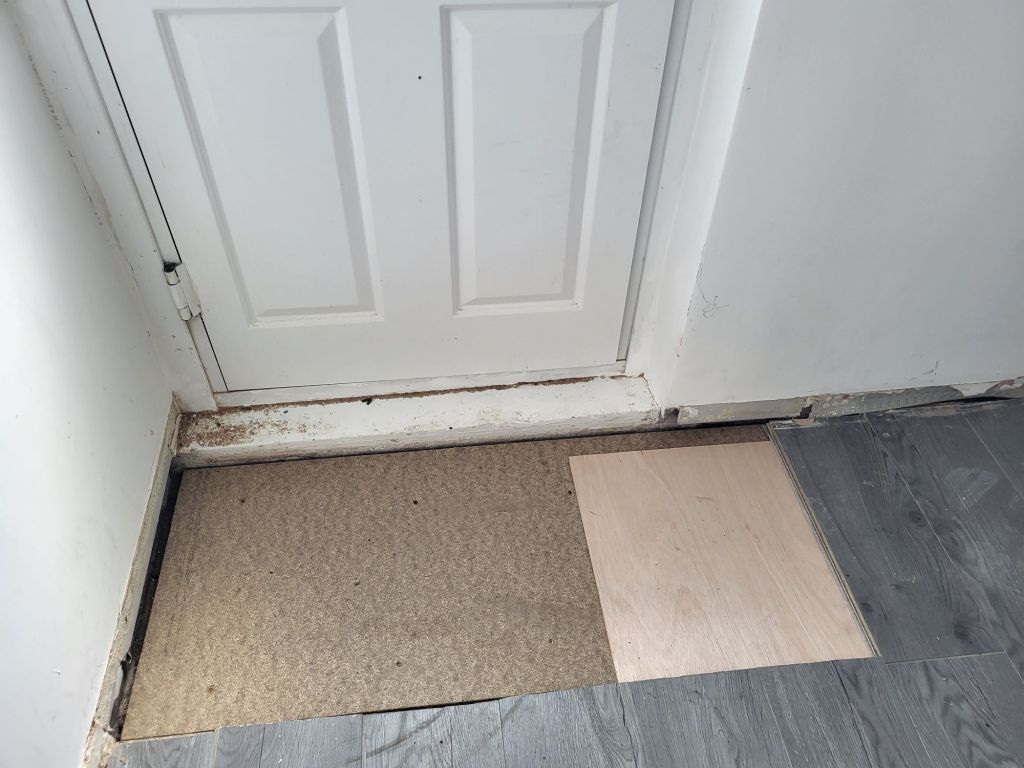

Job done. Refitting the laminate and skirting.
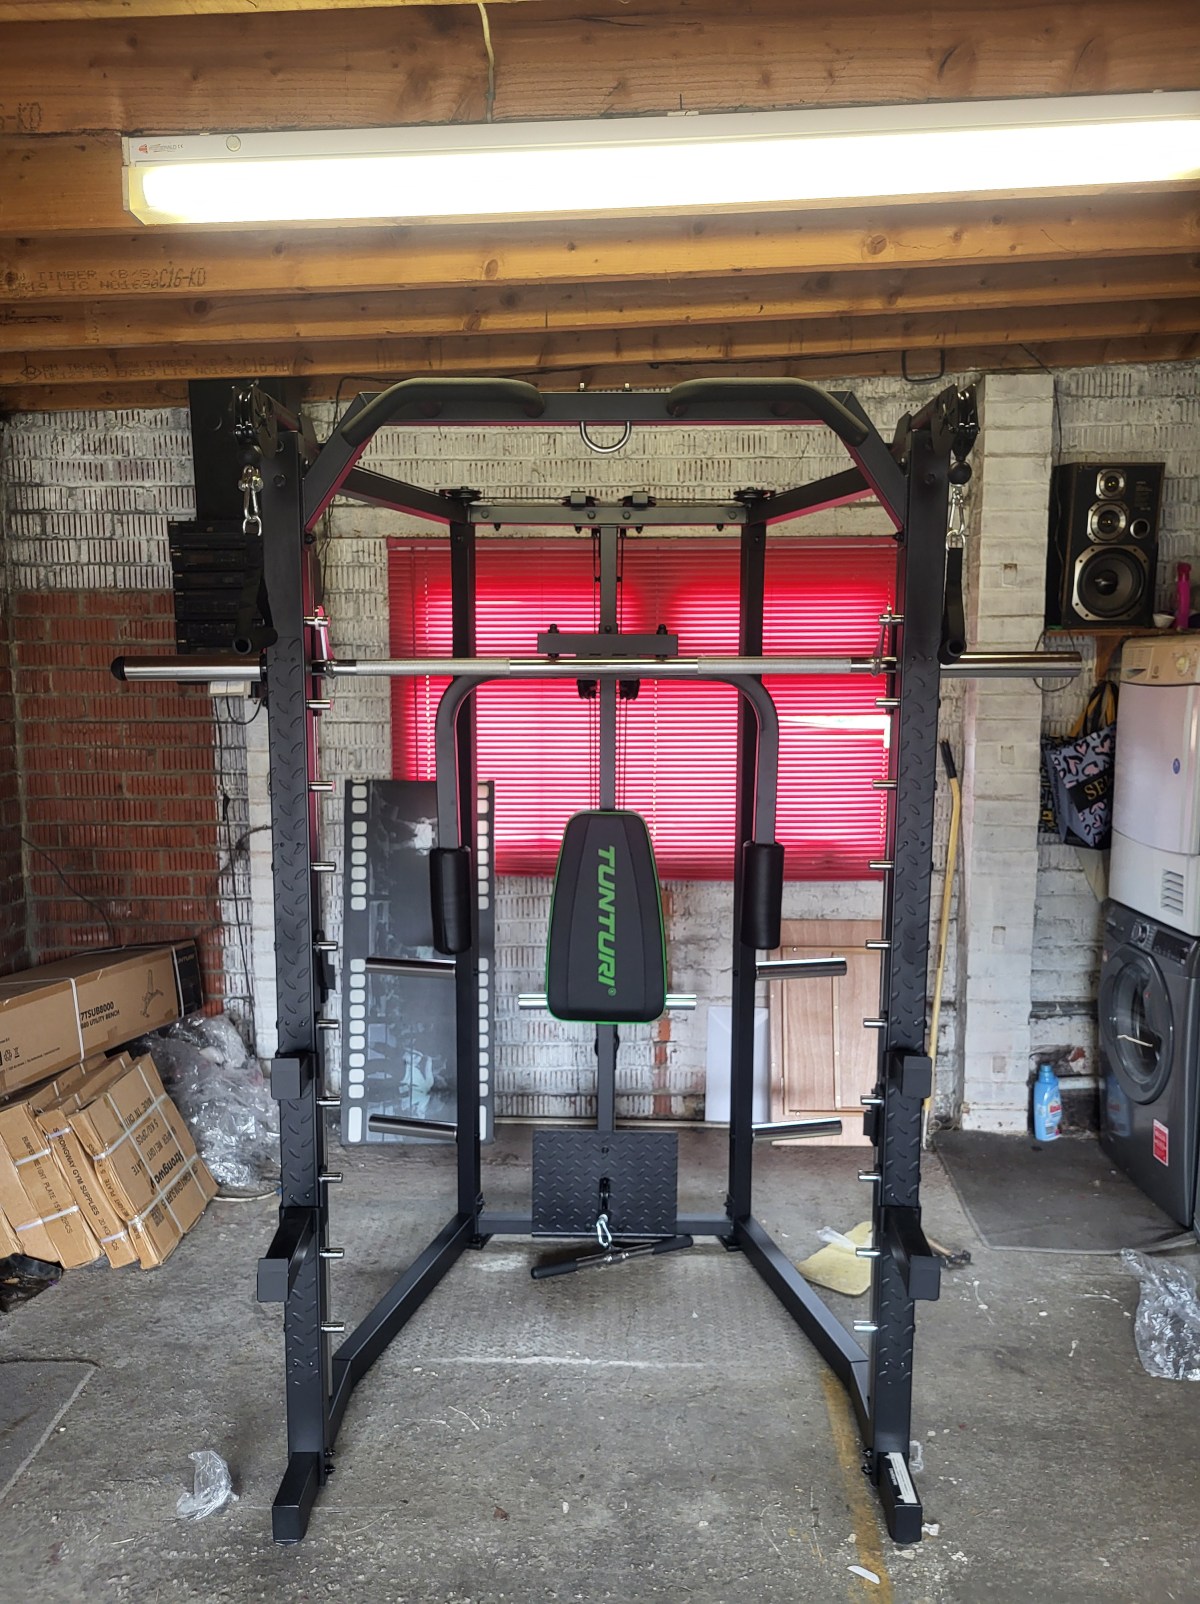
I estimated 6 hours to assemble the multi gym. Having unpacked the components.

6 hours later, it’s built with the pulles and cables fitted.
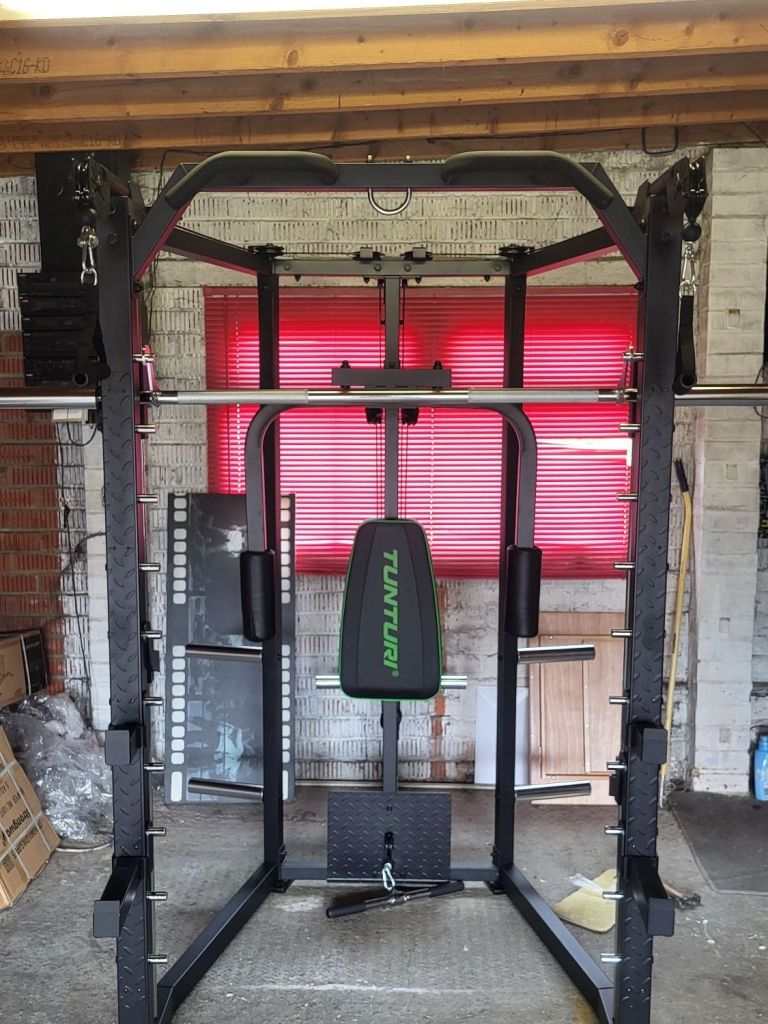
Ashtons Handyman Services.

A large awning has come away from the wall at one end and needs fixing back. But the brick, which the fixings are in, has crumbled, so l suggested the fixings use the next line of bricks up.
Having hired two scaffold towers to rest the awning on, l use 10mm driver bolts.

The brackets are fixed to the wall, and the awning can now be offered up and secured to the wall.

Job done.

The customer wanted some shelves in the garage.
So, cut down into three a sheet of 18mm ply and sourced 15 large brackets from Wicks.

Job done.

The rotten timbers are removed and some of the shed frame is strengthened.

I decided to remove all the lower timber as this would make it easier to replace under the window, it just so happened the the run would put up to the window with out having to cut.
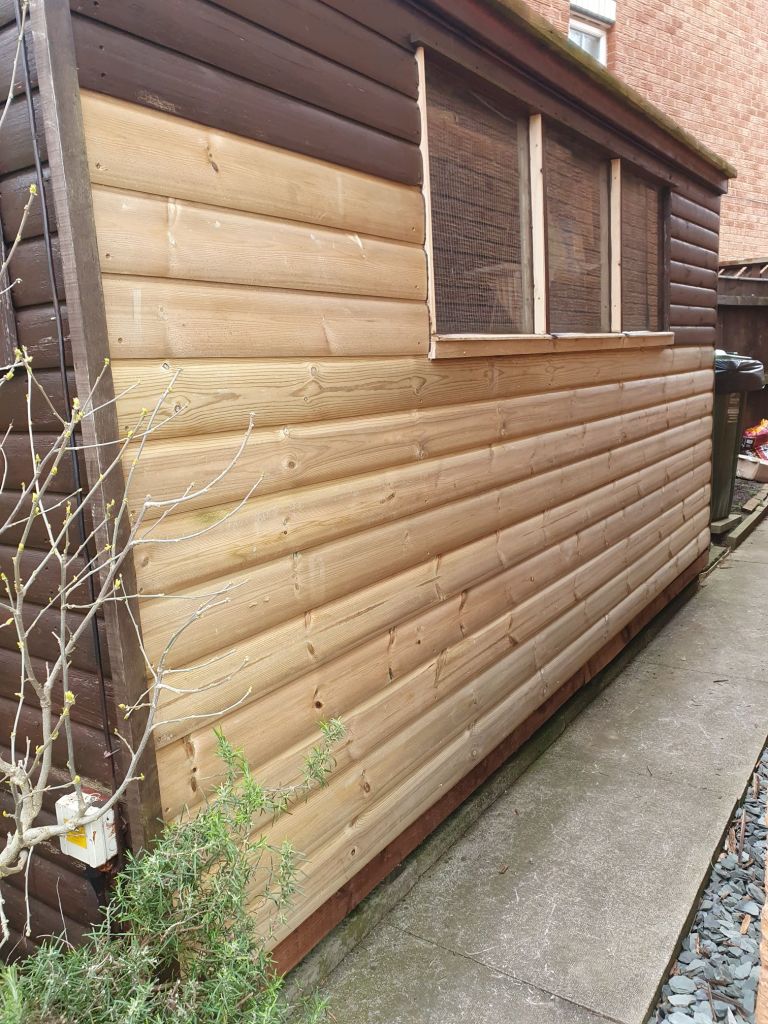
There looks great with the added trim around the window.

The timber on this side of the shed is damaged and needs replacing. Having removed the rotten timber and strengthened the shed frame, the new timber is fitted.


Jib done, just needs painting to match in with existing.
