Categories
Uncategorized

Boxing in Boiler

The customer wanted to cover over the boiler and the pipe work. So I suggested boxing in the unit with a standing cabinet that can be used for storage. It’s important the boiler can be accessed for serving, allowing for easy access.

Boxed in boiler using a kitchen unit fixed to the wall.
With selves added the cabinet is also able for storage.

There, much neater and smarter, with plenty of space to access the boiler for serving.

Categories
Uncategorized

Painting of Sitting/Dinner

It is always best to paint a room that is clear of furniture and furnishings but that’s not alway the case, in fact it is mostly the case, after all we live in our homes! It took me nearly 2 hours to get this sitting and dinner clear and under dust sheets with the sofas, tables and TV having to be moved and covered.

Covered furniture, I’ve made a start on the walls and have painted the ceiling.

Once I have finished all the painting, I applied two coats to the walls, I have to put everything back, TV on wall curtains etc.

Finished with furnishings back as they where.

There, job done. The customer can come home from work and everything is back to how it should be, just put the kettle on then..

Categories
Uncategorized

Carpets lifted

Carpets, underlay and grippers are removed from the property in Ingleby Barwick and removed from site using a reliable local family run company, ClearAway.

The waste material is stacked neatly outside ready for collection and disposed of responsibly.
Categories
Uncategorized

Make digital copies of vinyl records.

Recording old records that you don’t listen to anymore, into digital copies and making CD’s so you can play in the car or easily on any device.

Just a small side line so my fee is small. Can collect and return.

Categories
Ashtons Handyman Servies Uncategorized

Ikea wardrobe to fit.

Ikea Wardrobe to assemble and cut down to fit floor to ceiling height.

This is an interesting job, the wardrobe from Ikea is 30 mm higher than the floor to ceiling height.

So, we have to cut the sides of the unit from the base end so we can get it in to fit between the floor and the ceiling. Luck is on our side as there is an area under the baseboard we can cut, which will mean there will be no base plinth cover at the front but that’s okay because the base will be 12 mm off the floor anyway.

Also, to bear in mind that the unit will have to be assembled upright, not lying on the floor, as we will not be able to tilt it back to the wall, the height of the top side will hit the ceiling.

Having assembled the unit we cut away the skirting to the edge of where the wardrobe is going to be positioned so the back of the unit is flush with the wall. We now secure the unit to the wall with the system Ikea provides checking the vertical level first.

There, the job is done. It actually took longer to fit, assemble all the shelving, draws and internal units than to assemble and fit the wardrobe carcass itself!

Wardrobe Fitted

Now that’s a flush fit!

Categories
Uncategorized

Internal door cut down to fit

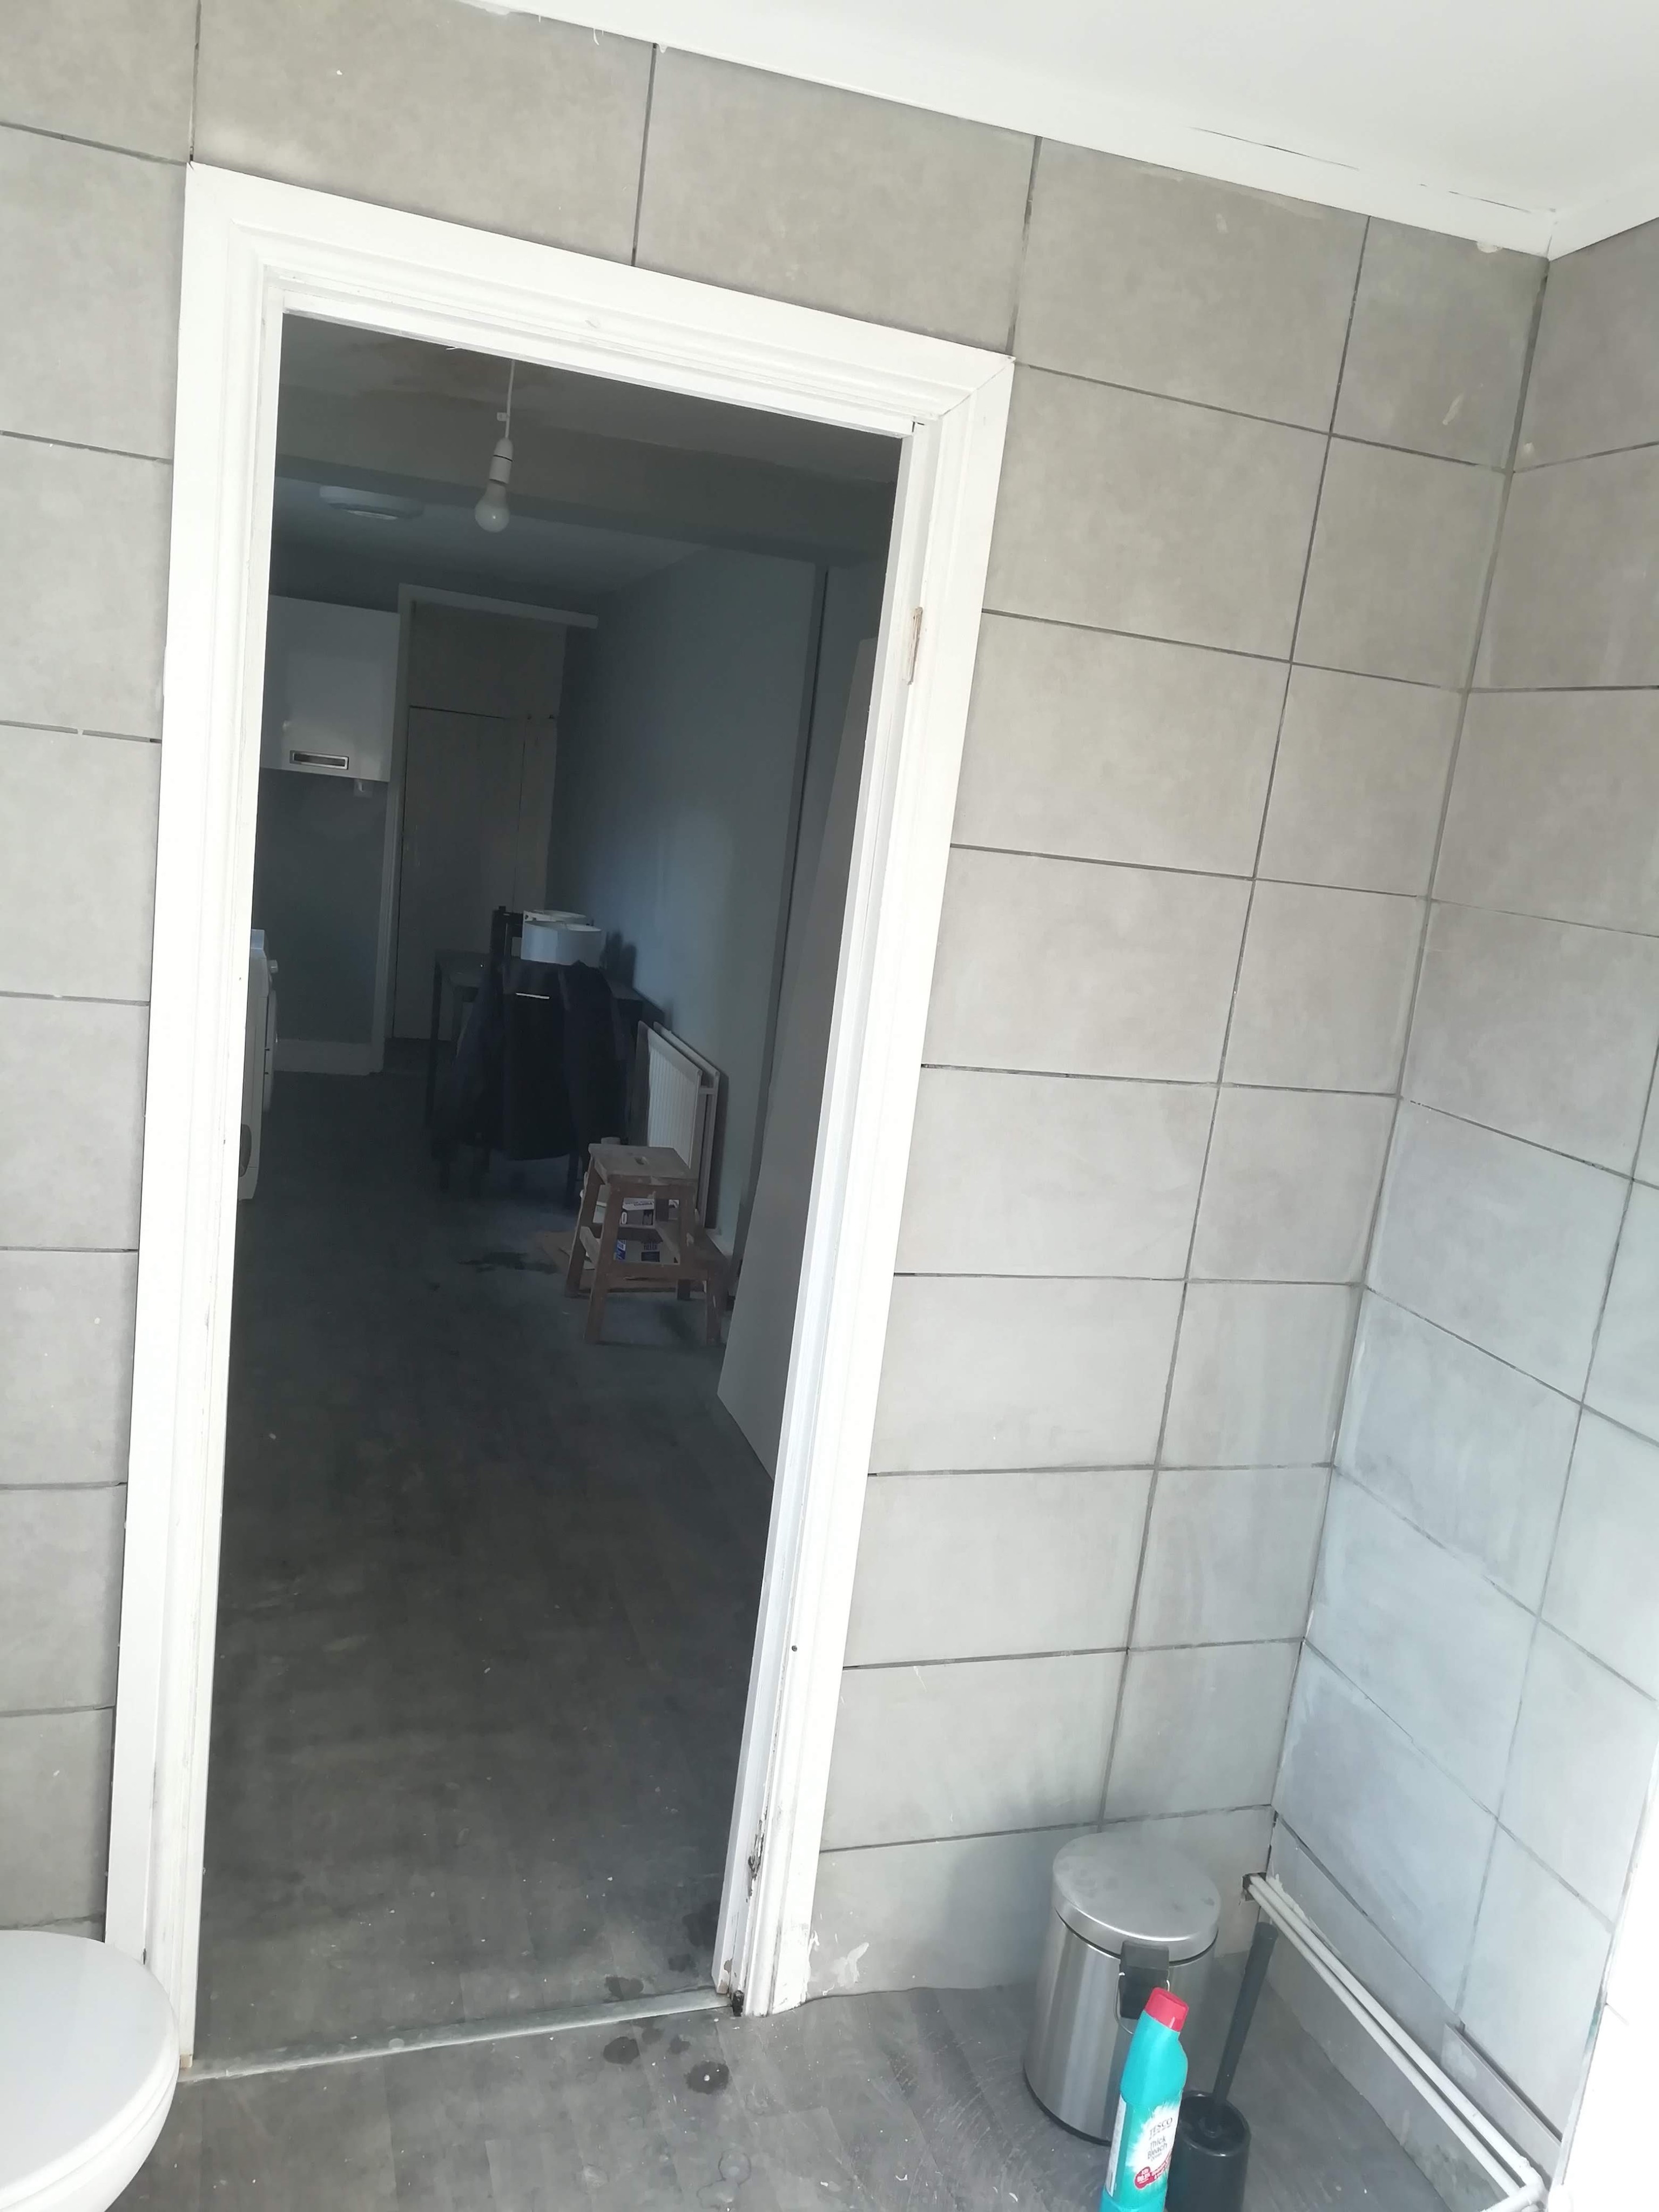
The opening through this door space is an odd size. Normal a door is 760 mm wide at the smallest, height 1920 ish.

img_20191017_114532

Here is the old door in white and one that I have got from DIY in Middlesbrough.

img_20191017_114505

Right, time to measure up and start making the new door fit. These doors are boarded and hollow with a stuffing inside. The lock and handle is usually marked on the one side so make sure you have the right side for the hinges. I am going to cut and trim the side that the door will hang from, leaving the block for the lock and handle on the other side.

img_20191017_115300img_20191017_121356

It looks like this door has the lock and handle block on both sides of the door because there is the block fixed to the trim I’ve just cut.

img_20191017_121712

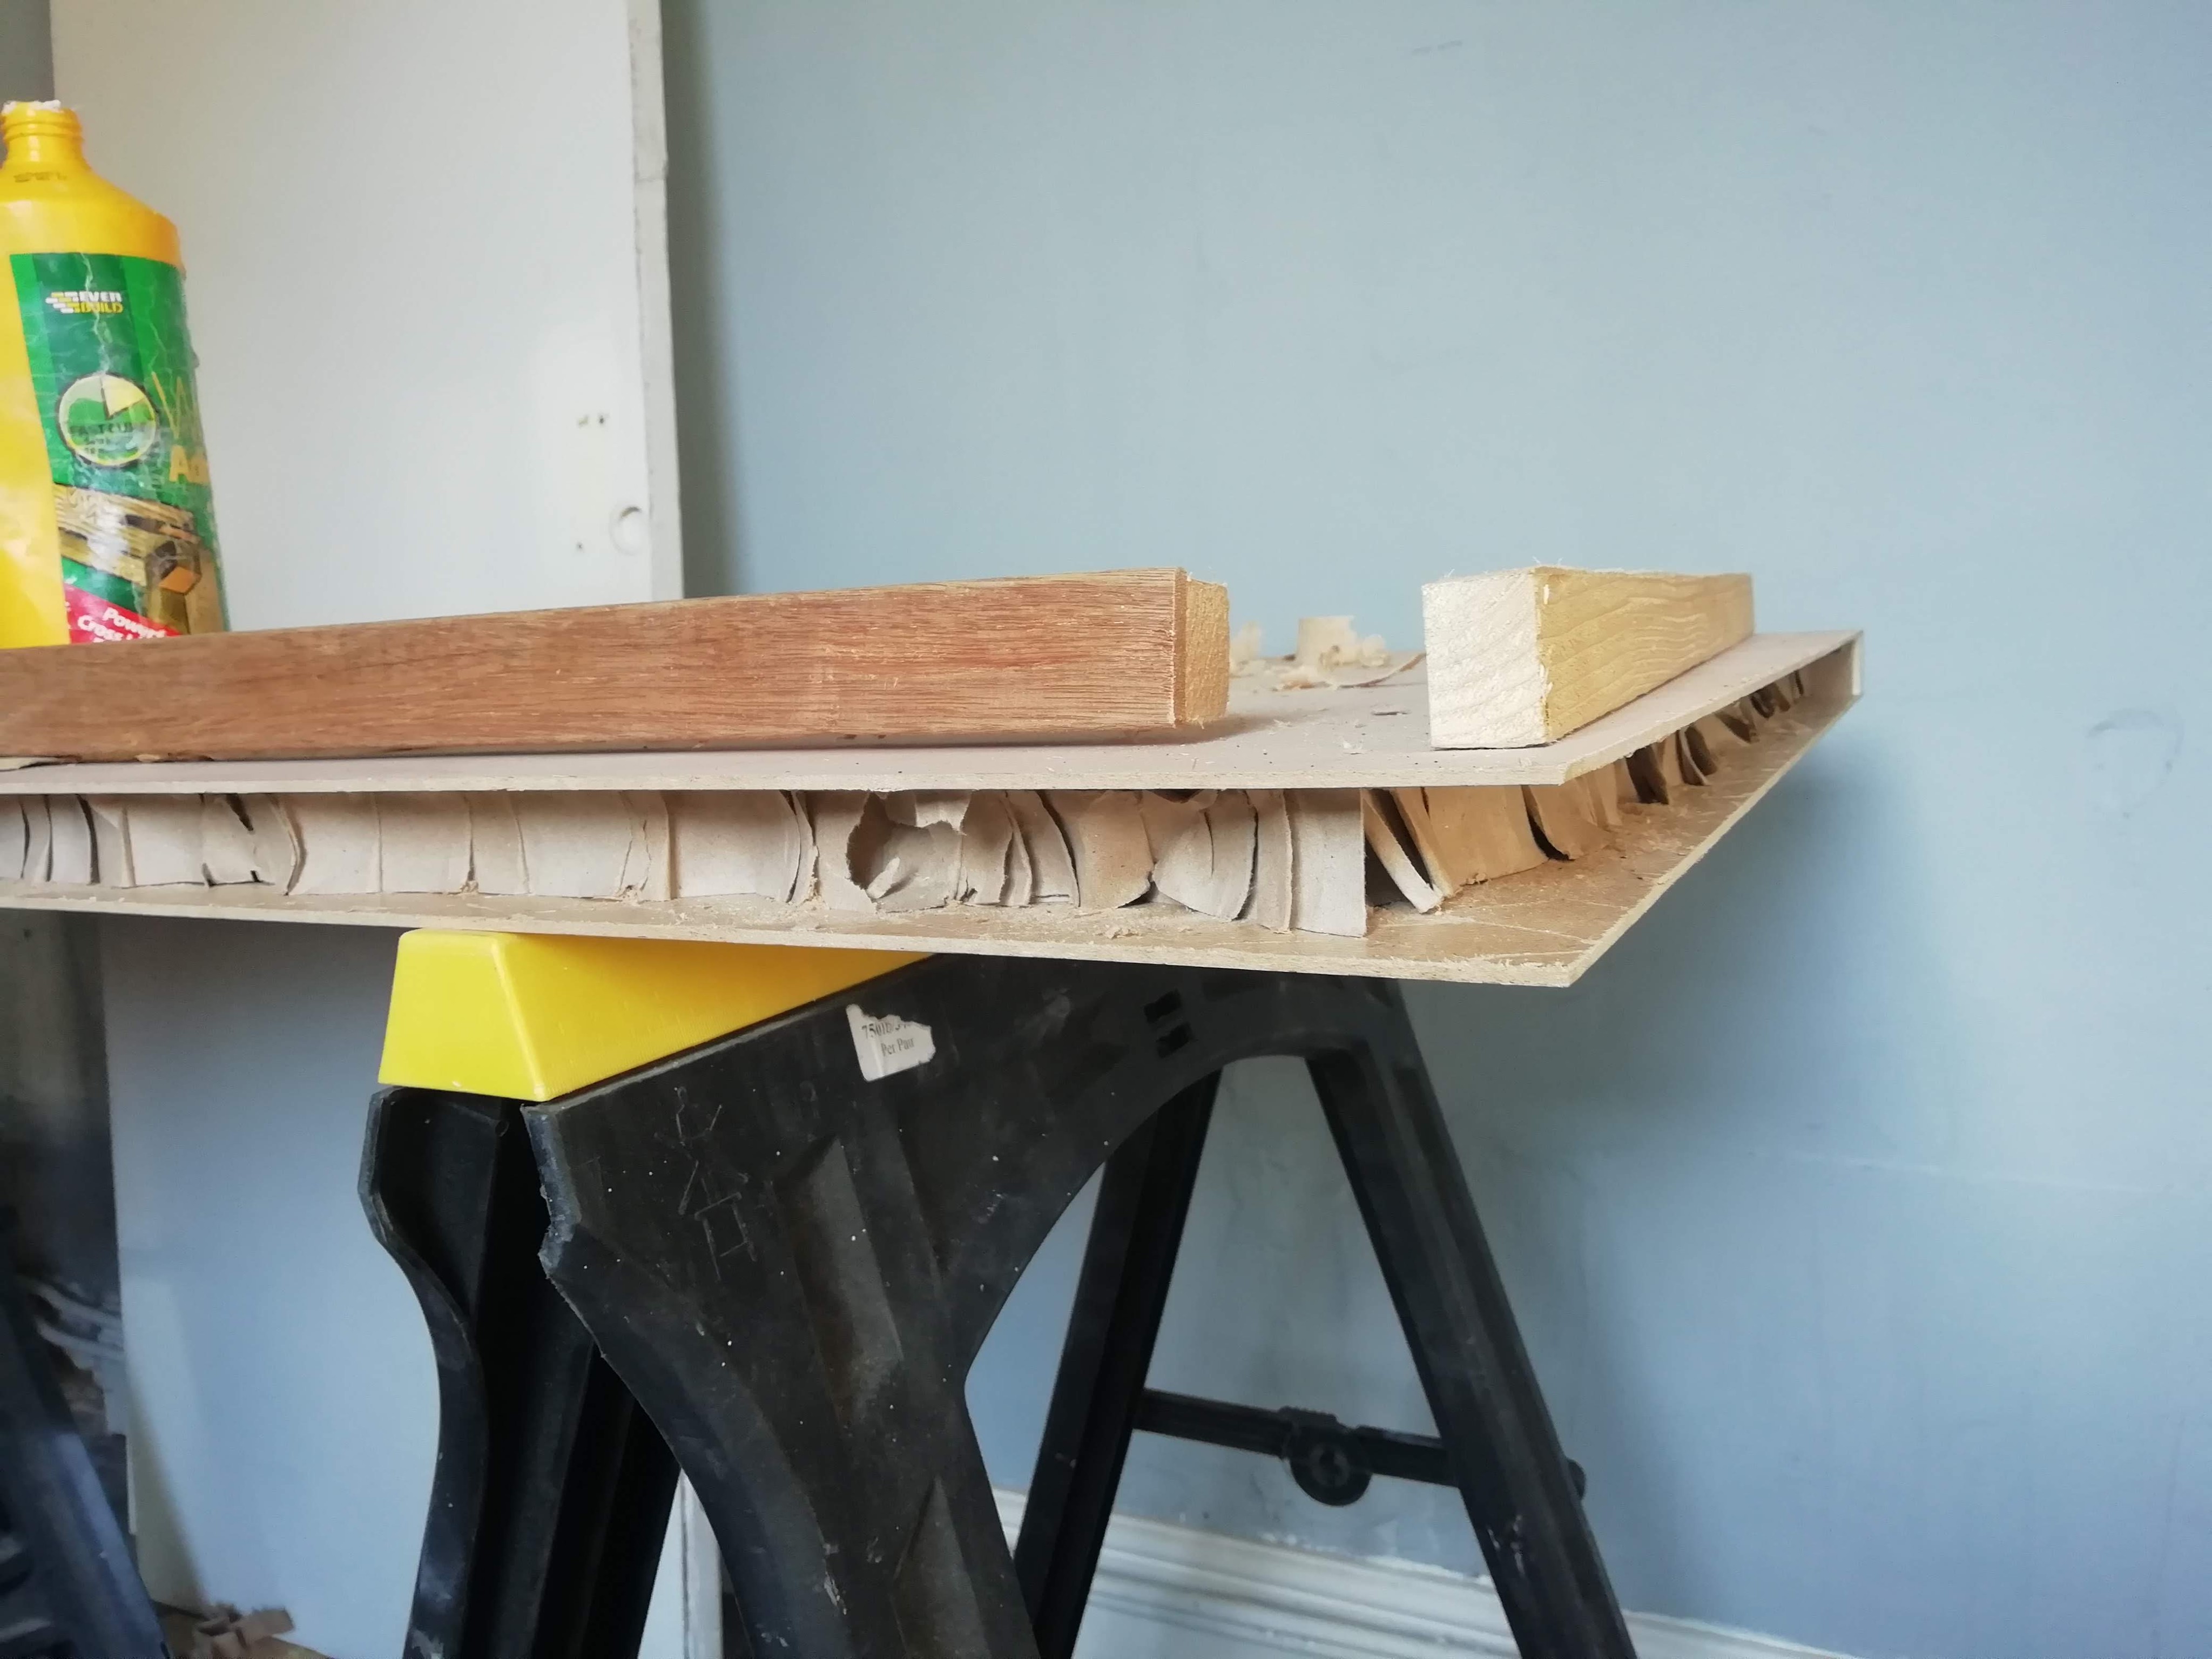
Now that I have removed the laminate from the edging trim that existed on the door, I am now going to use these to fit back in to make the edging of the door with wood glue & screws, predrilling so as not to split the wood.

img_20191017_131533

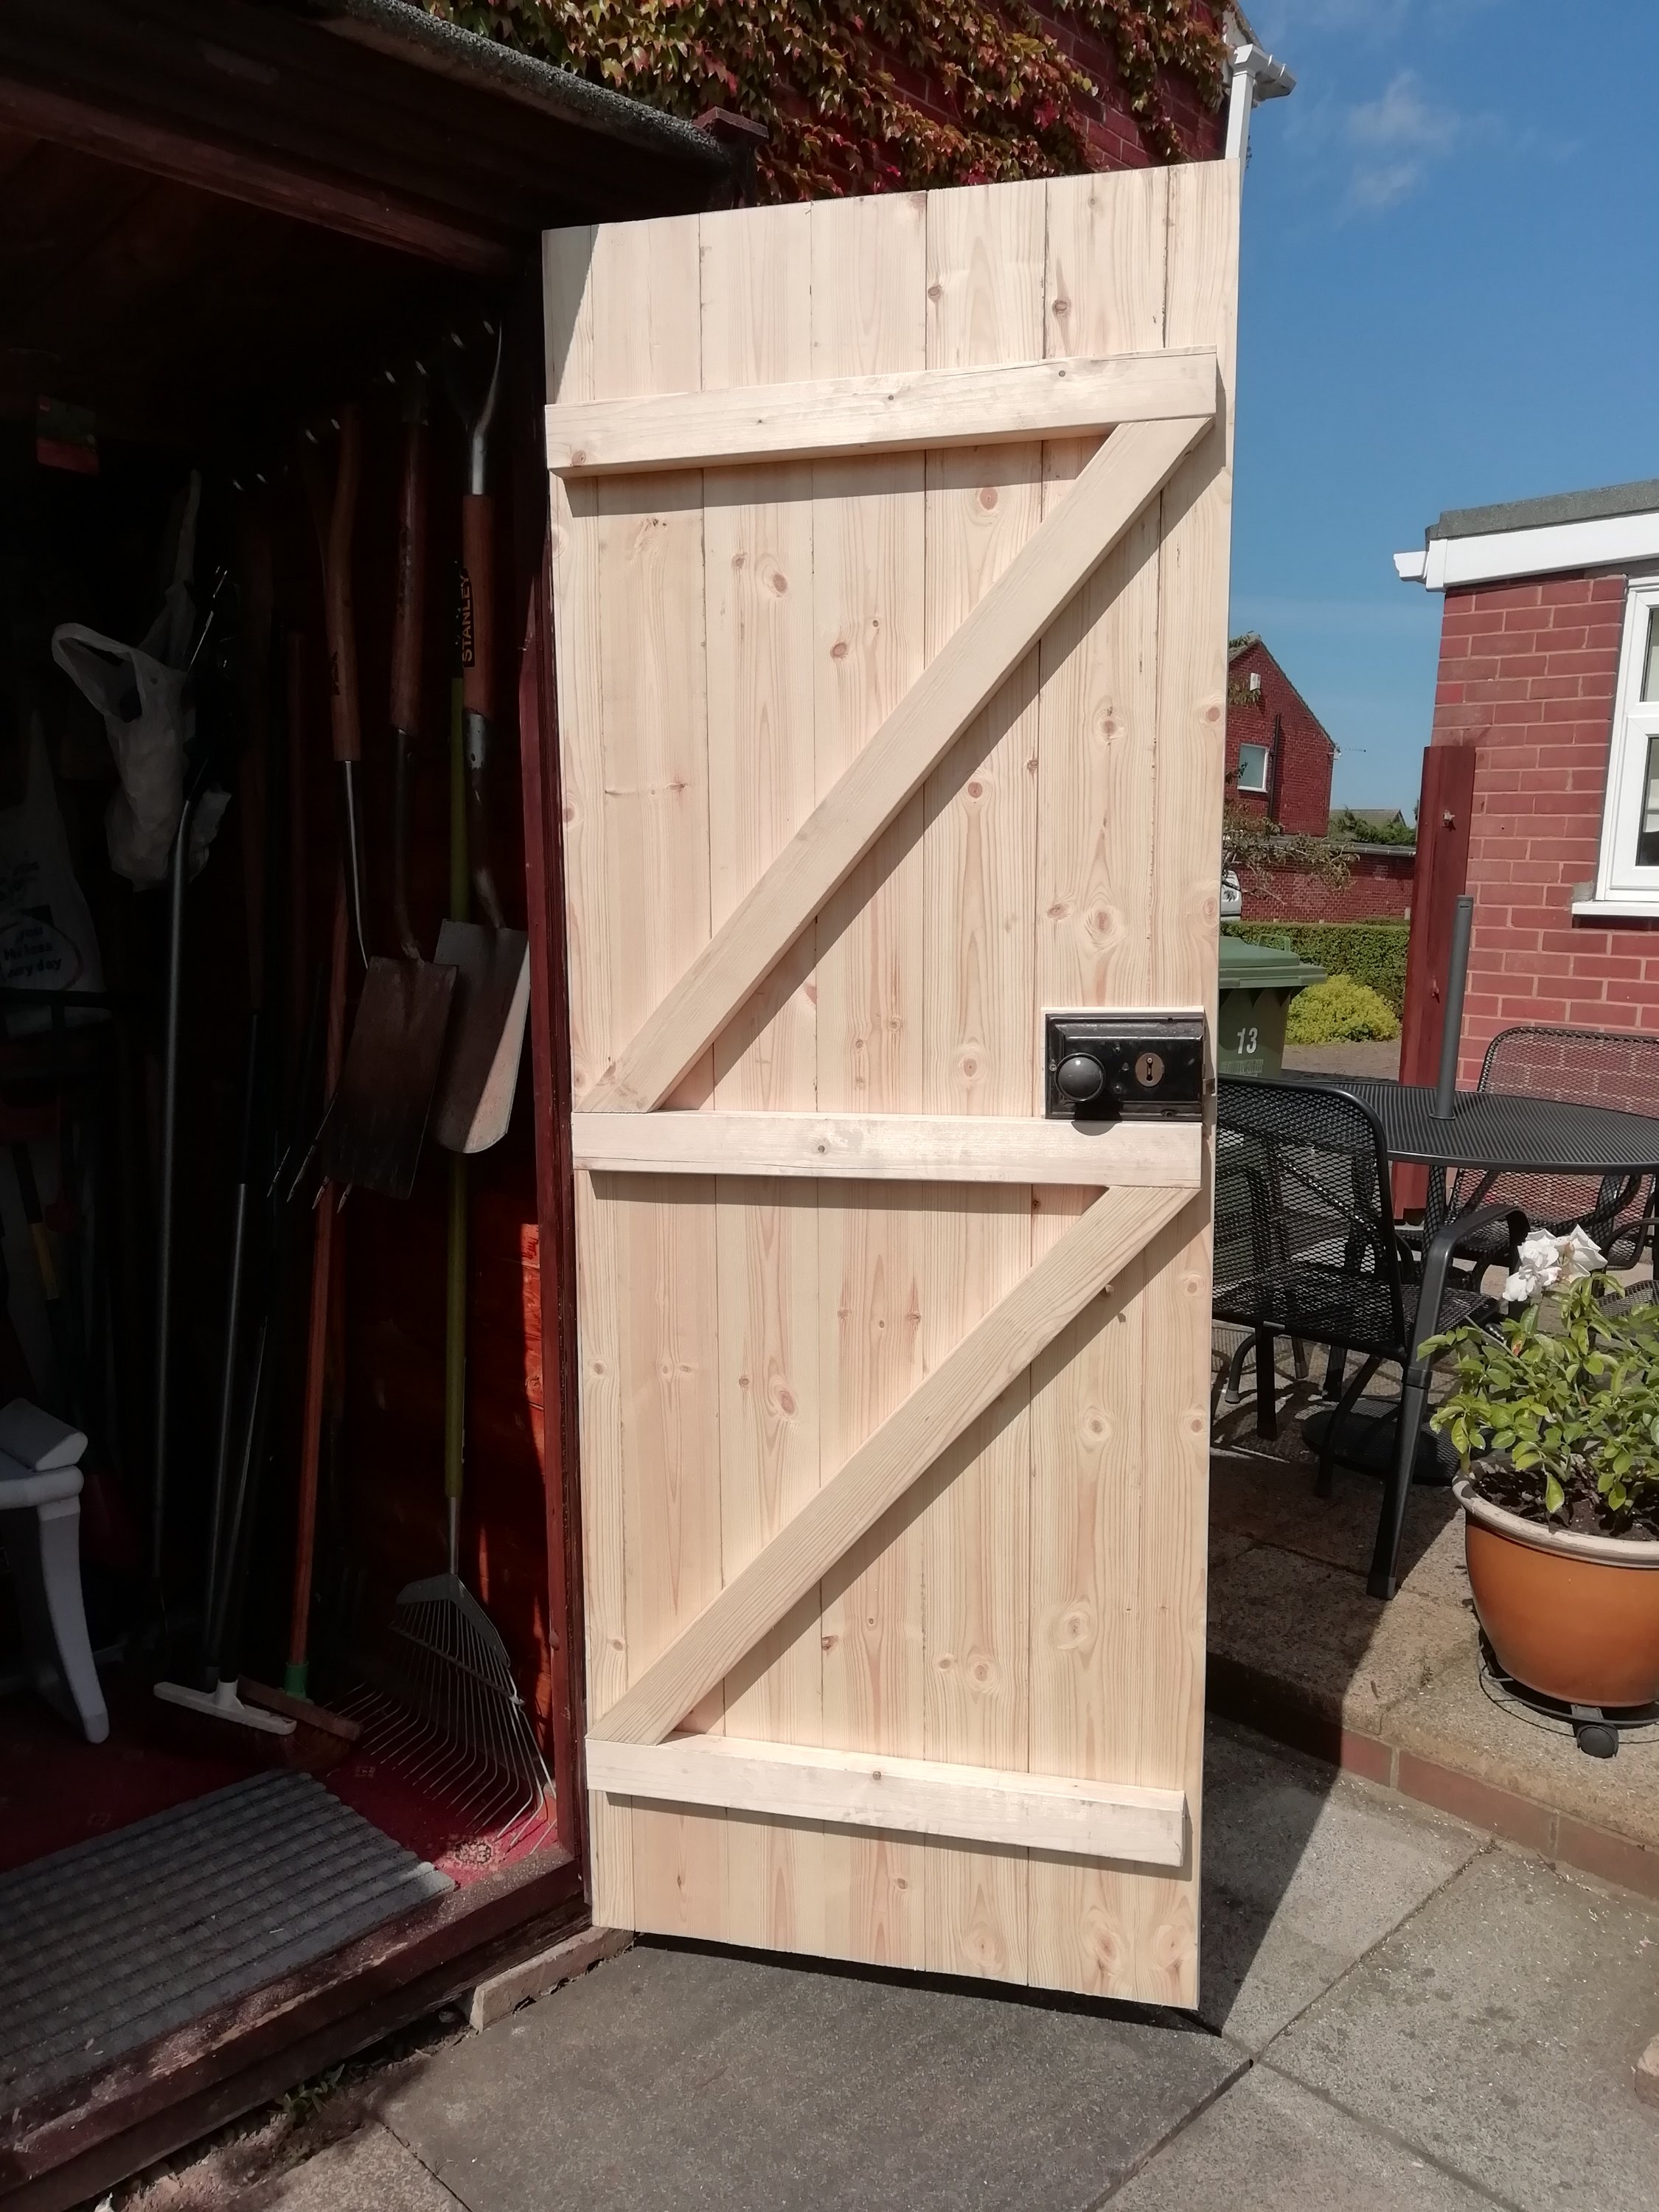
There, having wiped down with a damp sponge removed the excess glue the door is now made to size.

Time to fit and hang it.

img_20191017_152933

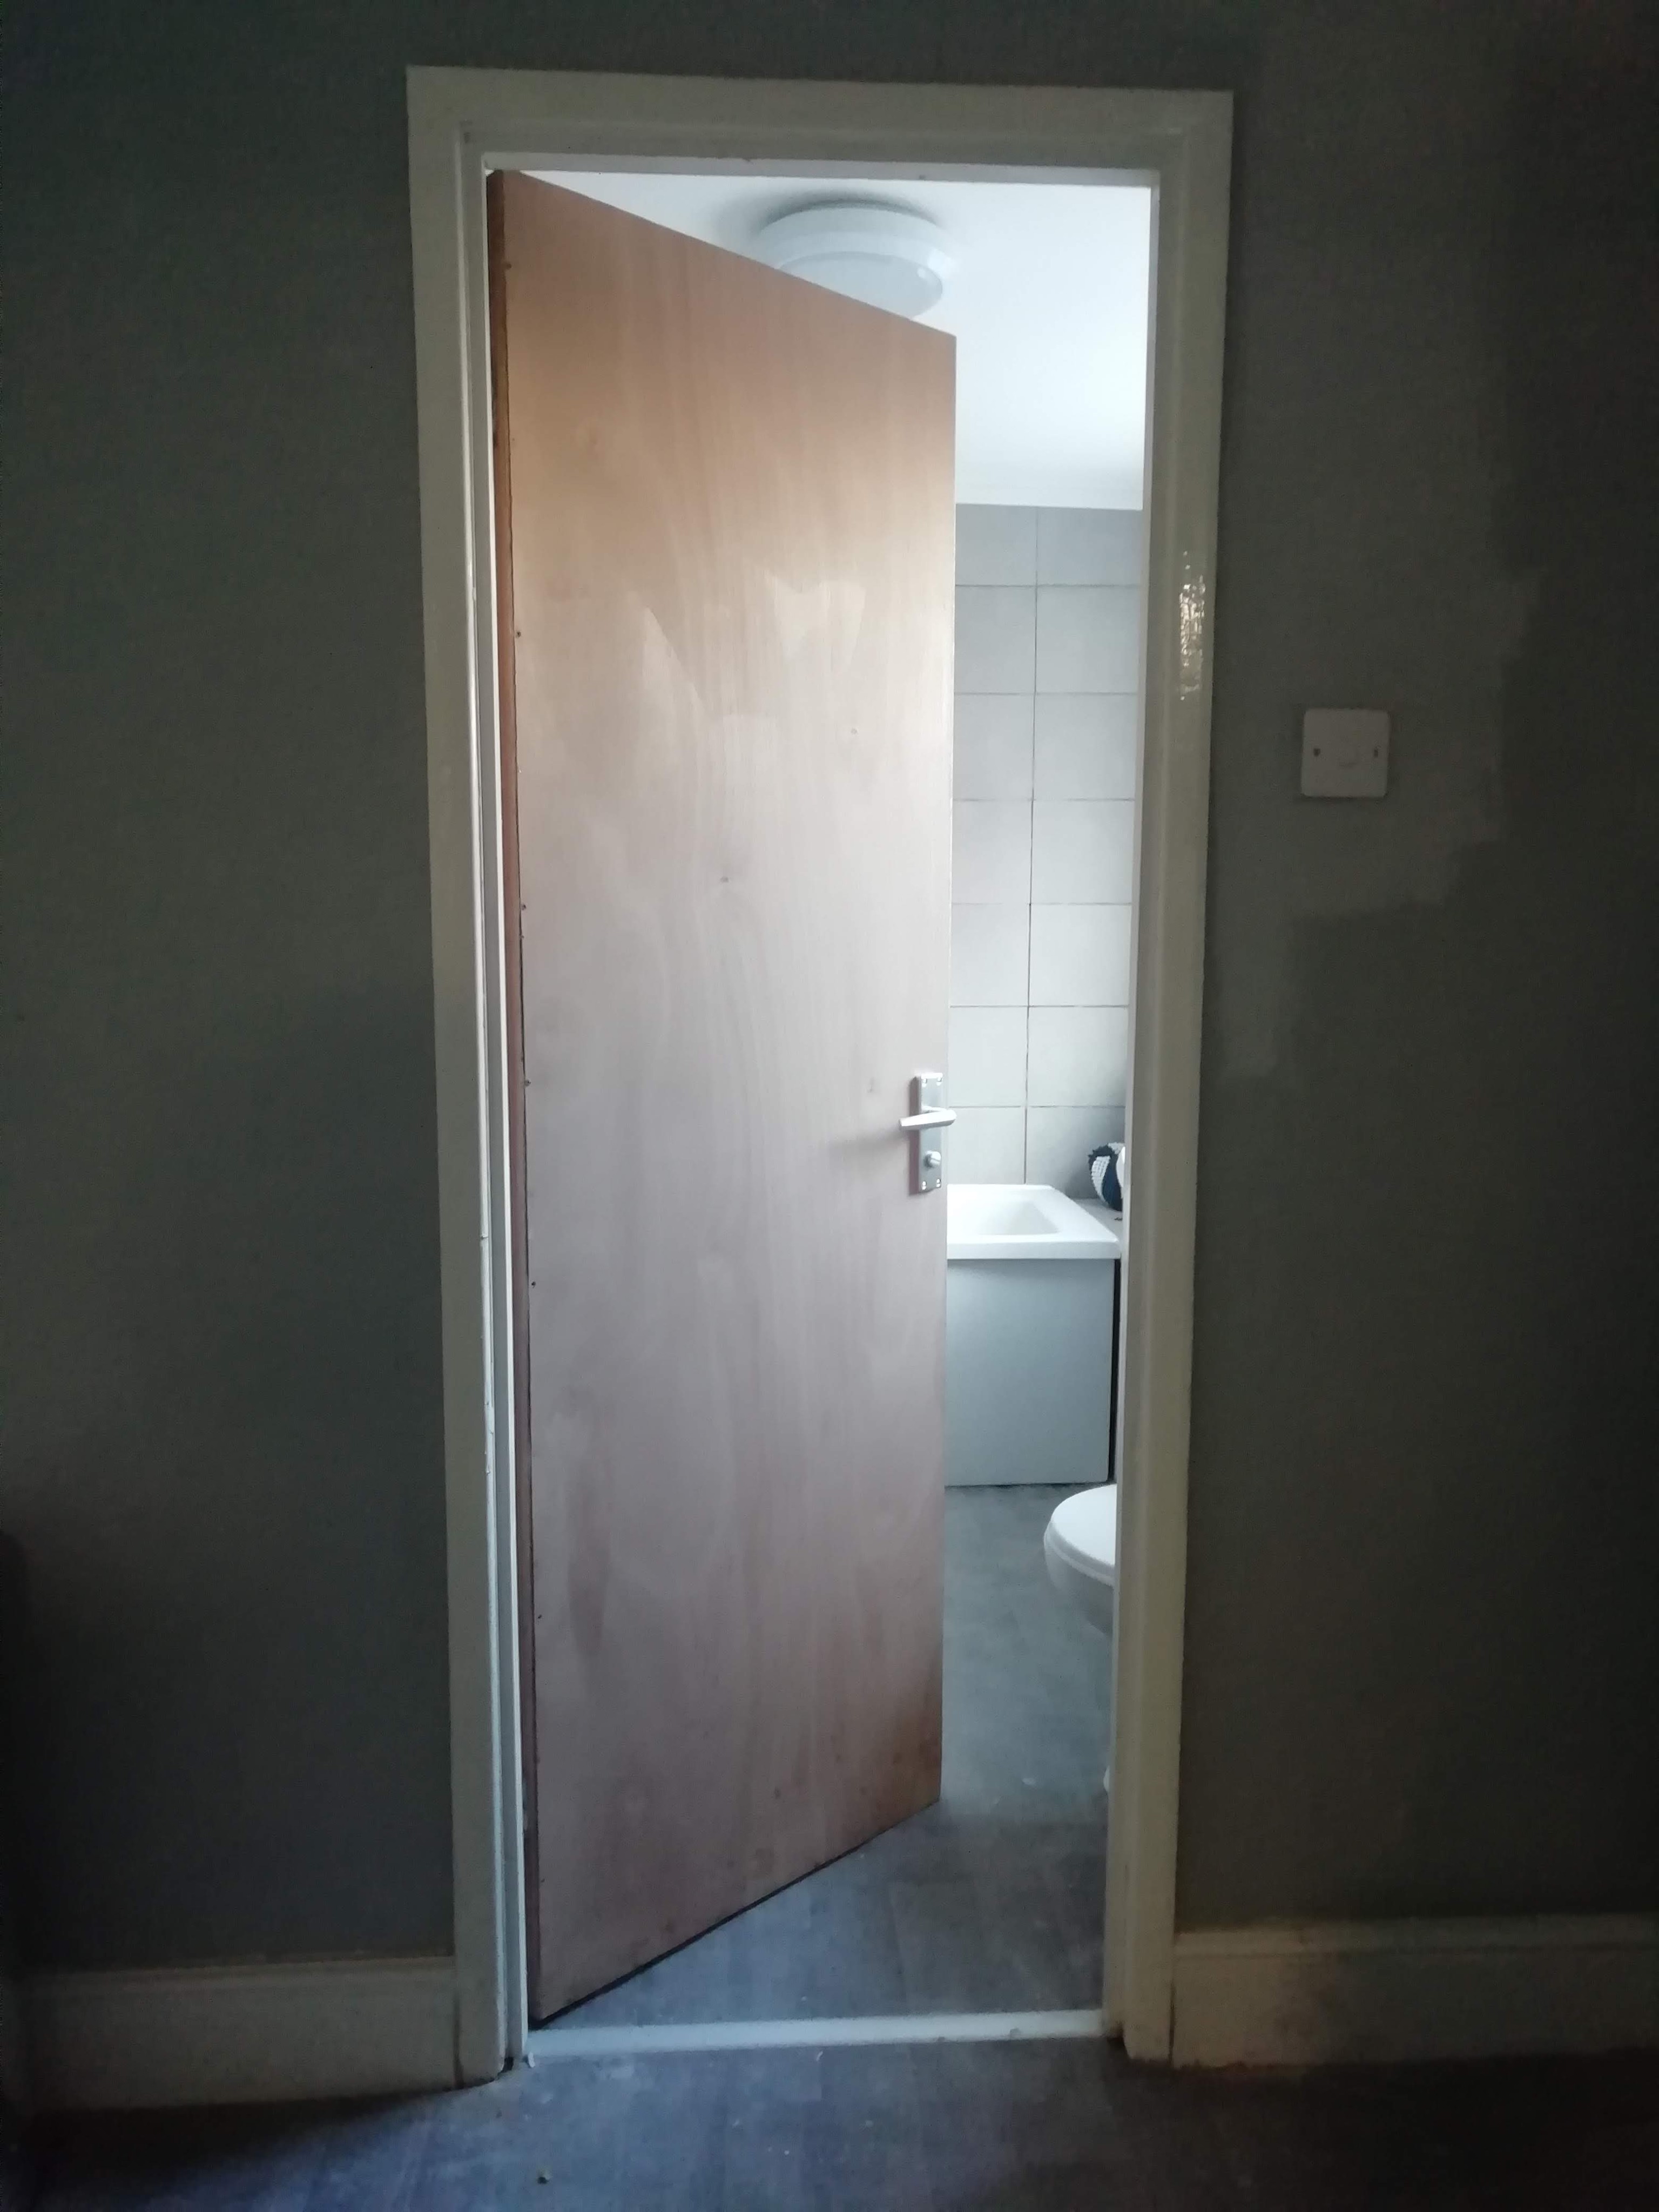
Fitted the door handle and yes, this door does have a block on both sides, but not all do, so always check which side the lock is on it will say on the top of the door frame.


Categories
Ashtons Handyman Servies Uncategorized

Office furniture assembly at Enappsys

Enappsys Ltd have moved to their new office and have rather a lot of office furniture to assemble as it’s all flat pack! Over 50 items to assemble, tables & office chairs, cabinets & cupboards. Well, let’s make a start.

Enappsys-FlatePack-Assembly

Two solid days to get this lot built. Job done.

Enappsys Office

Got shot of all the cardboard packing & boxes aswell. Good job!


Categories
Uncategorized

Font Entrance make over.

Time to give this front porch entrance a make over.

Front porch decorating
Wood on frame needs sorting

Window and front entrance to town house in Norton.

Window sill decorating
A bit of filling required to window using rapid set ready mix cement.

Looking much smarter.

Categories
Uncategorized

Shed door replaced.

The customer wants the shed door replaced with a new one. It turns out it’s cheaper to make one, custom build.

So let’s get to work. Having taken the measurements of the shed door opening, l go to get the materials from MKM.

I make the door using tung n groove plain sawn timber glueing the lengths together and clamping them tightly.

Now book in a convenient time with the customer to hang the door.

There is a few more things to do like fitting the bracing to the door and the lock. But also l can cut and trim the door to fit the shed opening as l know its not square.

There, job done. Just need to weather proof the timber.

Categories
Uncategorized

Hole in stud wall fixed

This hole, to in a stud wall needs to be filled. The best way to deal with this is cut out a square area around the hole. As the wall has a cavity there is nothing for any filler to stick to.

Once l have cut out and removed l fix some wooden battens behind, this will give a support for the new plaster board to fit into. Now a quick coat of plaster. Once the plaster is dry give a sanding to prep for painting, you won’t even know it was there.

Handyman services for the small jobs that others won’t do.

Categories
Uncategorized

Multi Home Gym assembly

In the box, the components for the Home Multi Gym. The instructions mention that it should take 4/5 hours to assemble. So start the stopwatch!

Multi Gym out of the box
In the box.

Five hours, not too bad, better to do a good job than to rush.

Multi Home Gym,home gym assembly
Completed in five hours

Categories
Uncategorized

Fireplace opening covered over.

The landlord wanted the old fireplace covered over. After removing the old fire unite the opening is revealed.

Covering Fireplace

Plasterboard is measured out & used to cover the opening fixing to the sides.

Covering Fireplace

A skim plaster is applied and leveled to the existing fireplace surface and left to dry out. Four coats of white paint are then painted over.

Covering Fireplace

There, job is done. Just need to finish off the hearth. I would advise adding an air vent to allow the chimney to breathe and prevent damp.

Categories
Uncategorized

Fencing job with a modern design.

Just need a paint of stain and weather sealing. Looking smart.

Categories
Uncategorized

Chimney Removed

Having taken the chimney down in the roof, we make a start on removing the chimney breast from the 1st floor inorder to take out the brick wall. A dusty dirty job but someone’s got to do it.

Categories
Uncategorized

Fireplace Tiling Job

The old broken tiles on this fireplace need replacing.

Fireplace

So let’s get to it and remove the old tiles and cut out some of the cement to make some depth.

Having removed any high rises we’re ready to add and level off the adhesive and place the tiles with a 5mm gap around each tile.

Leaving the adhesive to dry for 24 hours, we’re ready to grout, which the customer wants in black.

After a sponging over lightly to remove any excess grout, l leave to dry a little more before running a 15mm rounded trowel over the grout between the tiles.

With a dry cloth time to polish off. Job done. Looks great.

Categories
Uncategorized

Flooring Replacement

The original floor boards where so damaged that they needed to be replaced. Because there is a carpet going down the cheapest material to use in 18mm chipboard. Just be very careful to mark where the pipes lay.

Flooring Replacement

Flooring Replacement with chipboard

Categories
Decorating Uncategorized

TV Cable is hidden in Wall

The customer wished to have the TV cable hidden and then to wallpaper the wall.

davdav

Nice job!